
 Business License

How to Prevent Gas Leaks:Installing and Calibrating Combustible Gas Detectors in Your Storage Cabint
Introduction: Your Detector is Only as Good as Its Setup
A combustible gas detector is the heart of your cabinet's early warning system. But simply having one isn't enough. Proper installation and regular calibration are what turn a device into a reliable lifesaver. Follow this practical guide to ensure your detector is positioned correctly, connected properly, and reading accurately.
Step 1: Strategic Sensor Placement Inside the Cabinet
Where you mount the sensor is critical. Gases behave differently:
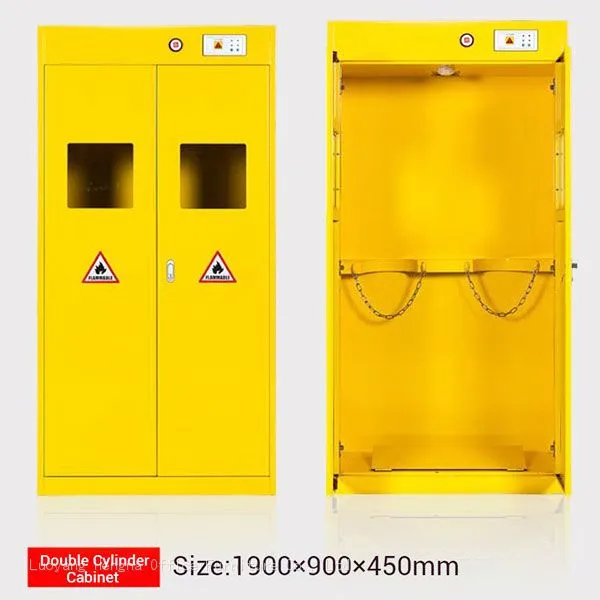
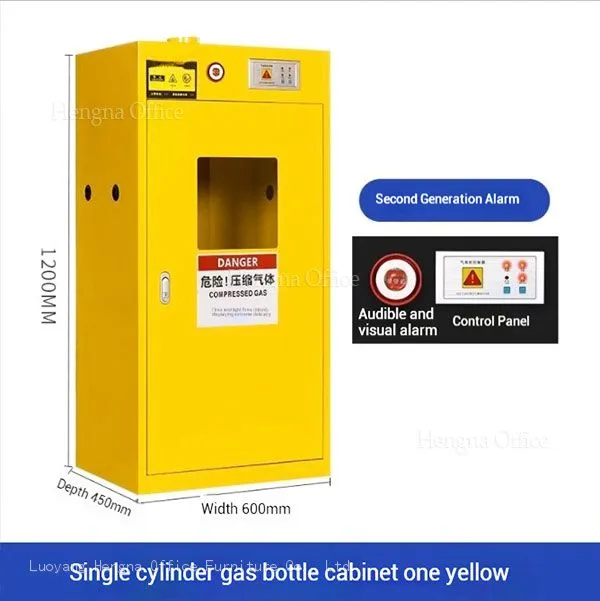
For Gases Heavier Than Air (e.g., Propane, Butane, Chlorine): Gas will pool at the bottom. Install the sensor 6-12 inches (15-30 cm) above the cabinet floor.
For Gases Lighter Than Air (e.g., Hydrogen, Methane, Ammonia): Gas will rise. Install the sensor near the top of the cabinet, just below the exhaust vent.
For Gases with Similar Density to Air (e.g., Carbon Monoxide, Ethylene): Mount the sensor in the breathing zone, approximately 4-5 feet (1.2-1.5 meters) off the ground or at mid-cabinet height.
General Rule: Avoid placing sensors in dead corners, directly in the path of the exhaust fan's intake (to avoid false negatives), or right next to the cylinder valve (to avoid false positives during normal change-outs).
Step 2: Proper Wiring & Integration
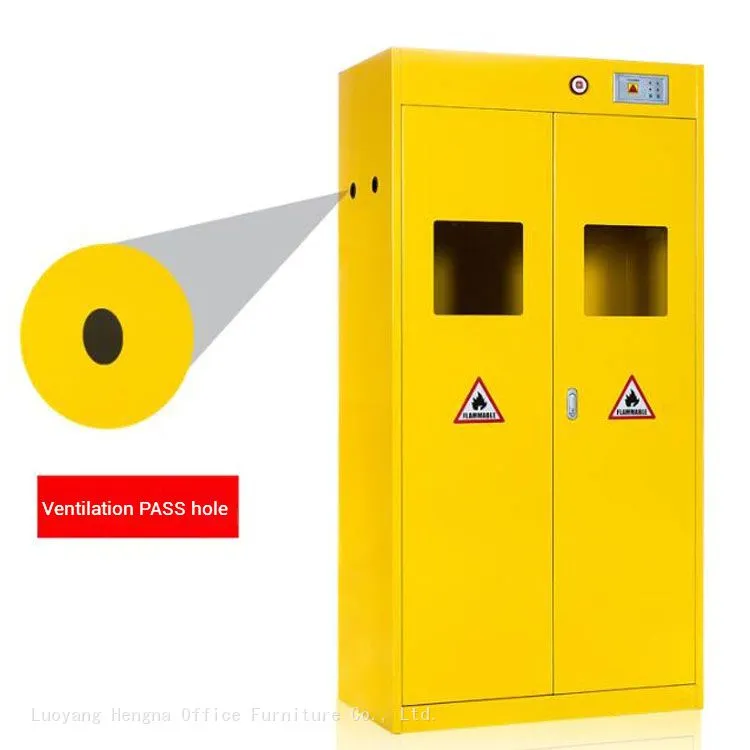
Power Source: Ensure a clean, dedicated power supply as per the manufacturer's specs (often 24V DC). Use conduit or shielded cable in industrial environments to prevent electrical interference.
Alarm Outputs: Connect the detector's relay outputs to:
The automatic exhaust fan (to trigger ventilation on alarm).
The central building/facility alarm system (for remote monitoring).
The cabinet's local audible and visual alarms.
Sealing: Use appropriate conduit seals where cables enter the cabinet to maintain its environmental and fire rating.
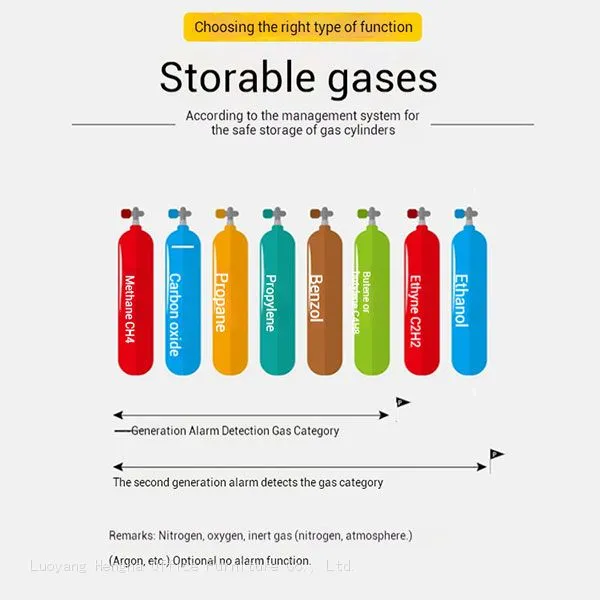
Step 3: The Critical Calibration Process
Calibration ensures the sensor reads accurately. Plan to calibrate at least every 6 months, or more frequently in harsh environments or after any alarm event.
What You'll Need:
A certified calibration gas cylinder with a known concentration of the target gas (e.g., 50% LEL methane).
A calibration cup or hood designed for your sensor.
A small regulator and tubing.
The Calibration Procedure (General Overview - Always follow your specific model's manual):
Bump Test (Weekly/Monthly): Briefly expose the sensor to calibration gas to verify it alarms. This checks basic function.
Full Calibration:
a. Access the detector's calibration mode via the control panel.
b. Apply the calibration gas to the sensor at the recommended flow rate using the cup.
c. Once the reading stabilizes, the detector will prompt you to confirm the known gas value. The device will then adjust its internal baseline (zero) and sensitivity (span).
d. Document the calibration date, gas used, and technician's name in your safety log.
Step 4: Routine Maintenance & Troubleshooting
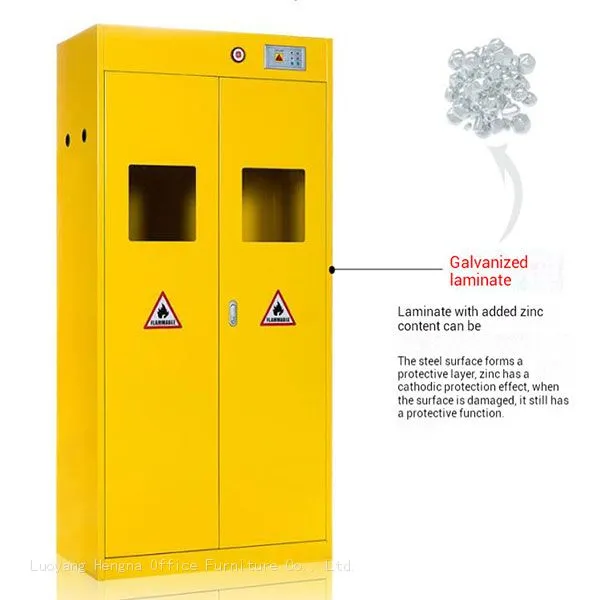
Monthly: Visually inspect the sensor for dust, dirt, or insect debris. Clean with a soft brush or low-pressure air if needed.
Annually: Perform a full functional test of the entire system: sensor, alarms, and fan activation.
Troubleshooting: If you get false alarms, check for contaminants (solvents, cleaners, silicone). If you get no response, verify power, check for sensor poisoning, and perform a bump test.
Pro Tip: Invest in a system with "Smart Sensor" technology that provides end-of-life warnings and simplified, on-screen calibration prompts to minimize downtime and errors.
Need help specifying, installing, or maintaining your gas detection system? Our technical support team is here to guide you from setup to long-term compliance.

Recently Posted
-
Heavy Duty Steel Workbench for Auto Repair — Cold Rolled Frame vs What Most Garages Use
August 5, 2026Mike has been running his independent garage for eleven years. Three bays, two mechanics, a steady stream of brake jobs and transm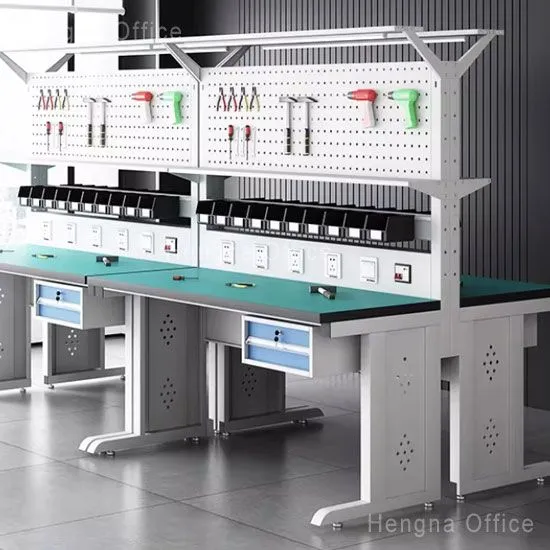 Read More
 -
Modular Workbench with Pegboard and Drawers — One Bench That Grows With Your Shop
August 5, 2026A shop starts with three people and two benches. Basic surface, no drawers, tools hanging on a pegboard nailed to the wall. Works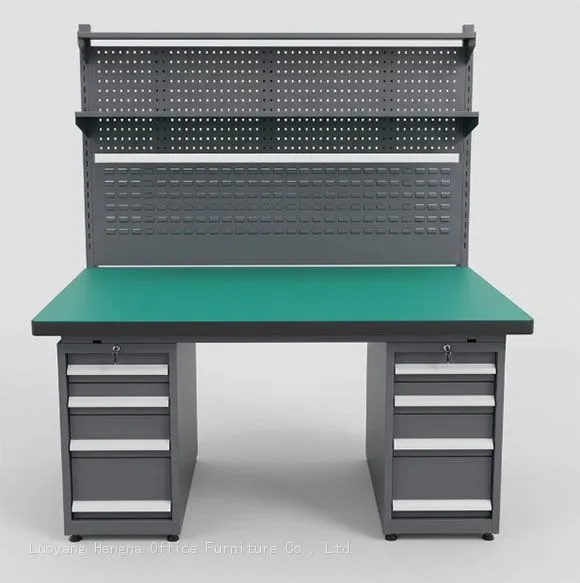 Read More
 -
ESD Workbench for Electronics Assembly — Static Protection Most PCB Rework Stations Skip
August 5, 2026A phone screen flickers and goes dark. A laptop motherboard refuses to POST. An industrial controller board shows intermittent fau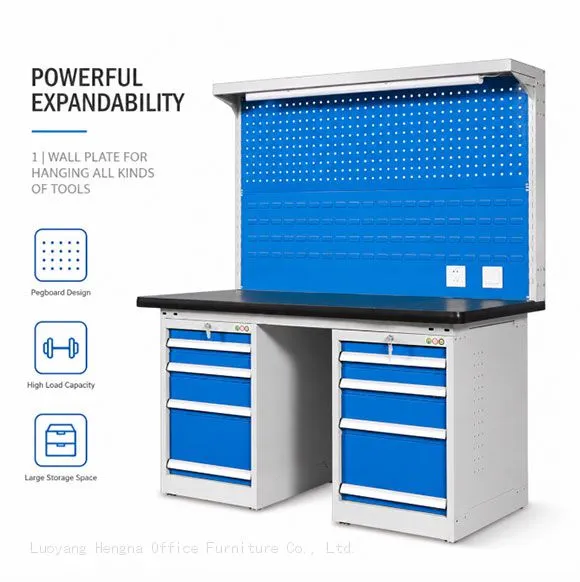 Read More
 -
Stainless Steel Shelving for Breweries and Wineries — What Survives Humidity, Alcohol Spills
July 24, 2026Stainless Steel Shelving for Breweries and Wineries — What Survives Humidity, Alcohol Spills, and Sanitizer Washdowns Three t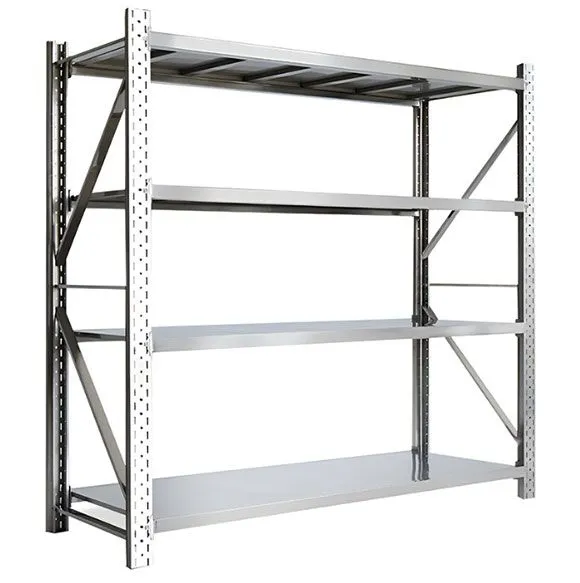 Read More

Contact Us
Recommended Products
-
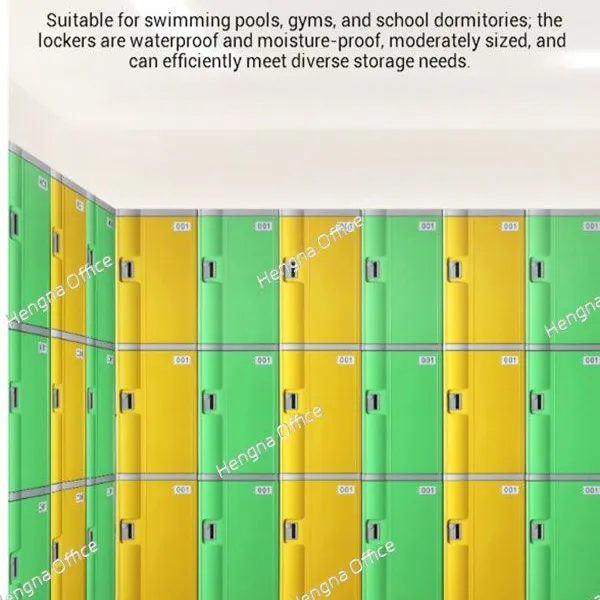
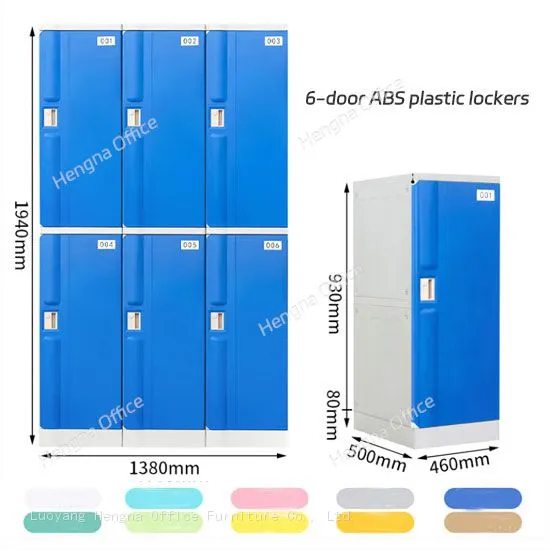
 Industrial-Grade ABS Plastic Locker for Factory Staff and Warehouse Workers|Hengna OfficeUS$ 19 - 100MOQ: 5 Sets
 -
Outdoor ABS Locker Cabinet – UV-Resistant Plastic Storage for Poolside or Beach Resorts-Hengna OfficeUS$ 19 - 100MOQ: 5 Sets
-
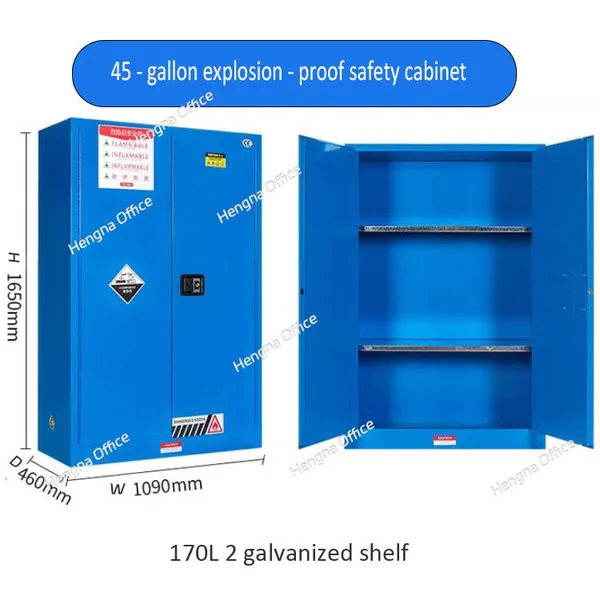
45 Gallon Explosion-Proof Flammable Liquid Storage Cabinet – Fire-Resistant Steel Safety Cabinet for FactoriesUS$ 68 - 400MOQ: 2 Combos
-
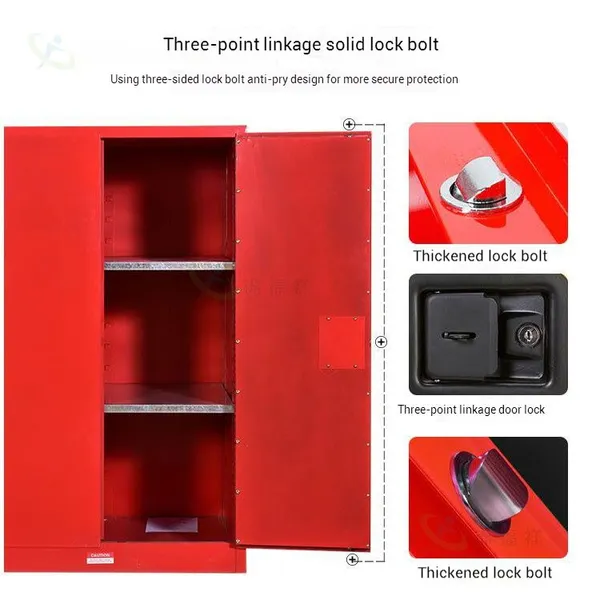
Flammable Storage Cabinet for Flammable Liquids – OSHA Certified Safety Cabinet With Fireproof Double WallsUS$ 68 - 400MOQ: 2 Combos
-
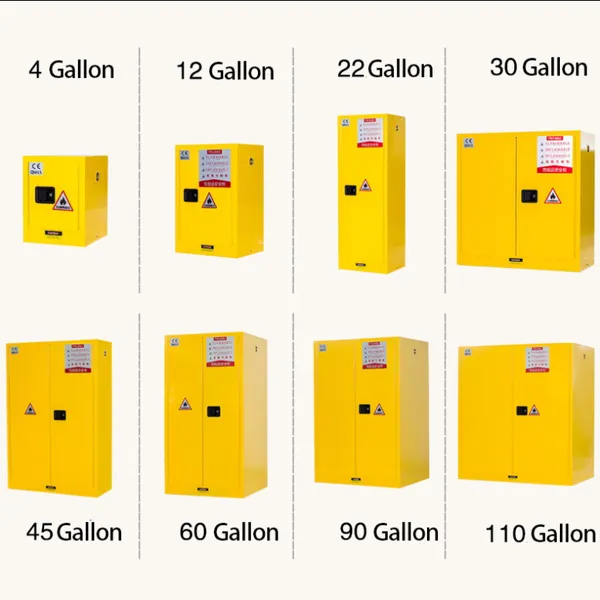
Large Capacity Flammable Liquid Storage Cabinet – Explosion-Proof Safety Cabinet for Laboratory & Workshop UseUS$ 68 - 400MOQ: 2 Combos
-
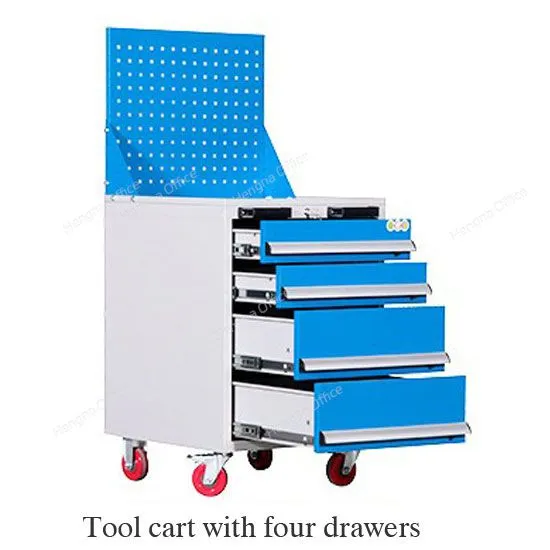
Heavy Duty Steel Tool Cart With Drawers for Workshops|Hengna OfficeUS$ 99 - 269MOQ: 2 Cases
-
Wholesale 3-Drawer Tool Trolley With Wheels for Factory and Garage StorageUS$ 99 - 269MOQ: 2 Cases
-
HN-wlj160 Industrial Rolling Tool Organizer With Pegboard|All-in-One Mobile Tool Storage CartUS$ 5 - 120MOQ: 2 Cases
-
White Stackable Pathology Wax Block Storage Drawers for Labs Near London-Hengna OfficeNegotiableMOQ: 10 Pieces
-
Custom Paraffin Block Storage Cabinet for Histology Laboratories – Factory Direct From Hengna FurnitureNegotiableMOQ: 10 Pieces
-
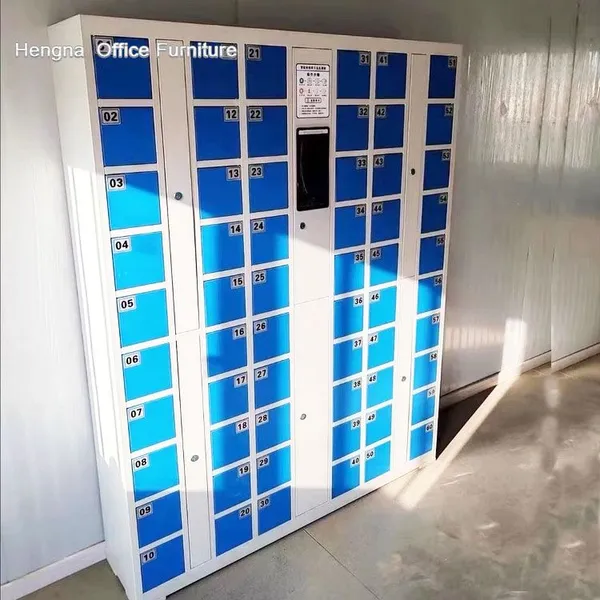
Smart Phone Charging Locker 40-door|Fingerprint Lockers Intelligent Parcel Delivery CabinetUS$ 203 - 750MOQ: 15 Pieces
-
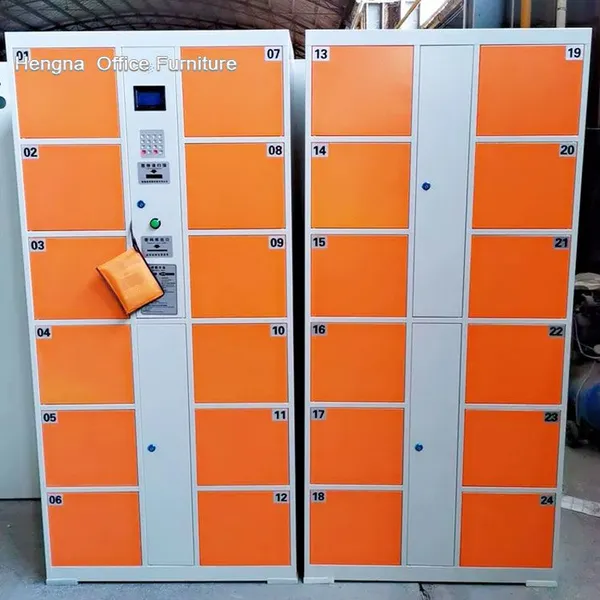
School Gym Lockers Price |Parcel Delivery Storage Locker 12-door FactoryUS$ 203 - 750MOQ: 15 Pieces
-
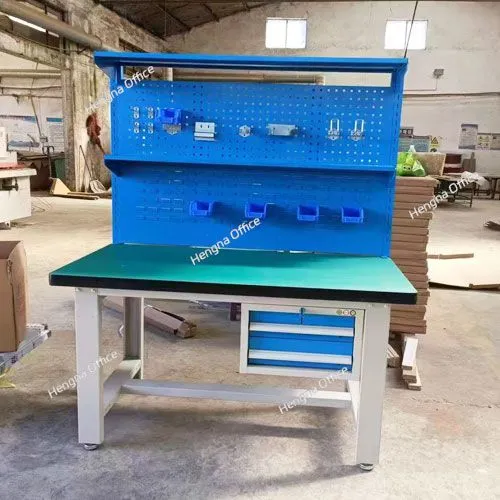
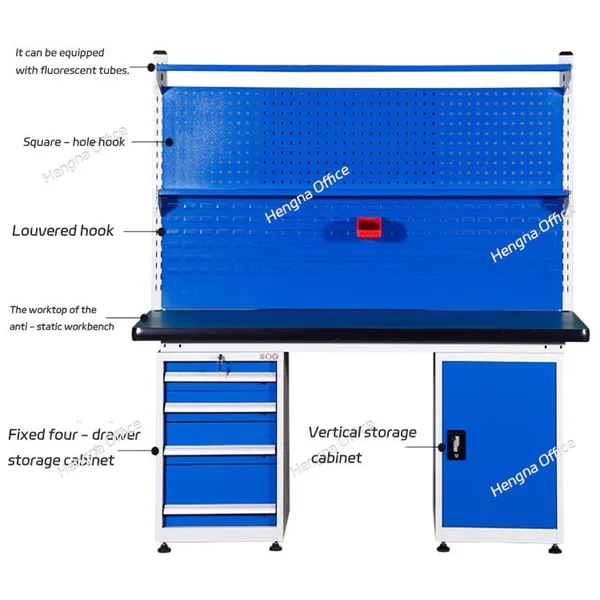
Multi Metal Work Benches Electrical Workshop Workbench|US$ 300 - 800MOQ: 2 Cases
-
Commercial Workbench Supplier |Multi Metal Work Bench With Drawers OMDUS$ 300 - 800MOQ: 2 Cases
-
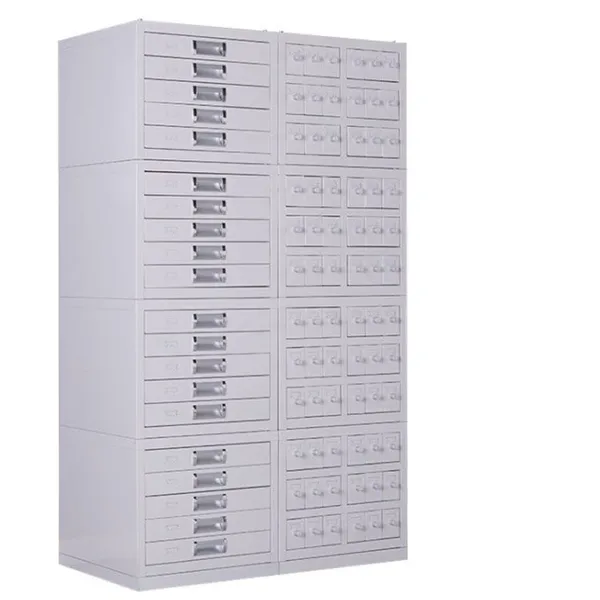
Pathological Ection Cabinet JTGZ062 Wax Block Cabinet for LaboratoryNegotiableMOQ: 10 Pieces
-
Durable Tool Storage in Factory HNGJ703 Hard Wearing Metal Industrial Tool ChestNegotiableMOQ: 18 Pieces
-
High - Quality CNC Workshop Tool Cabinet Heavyweight Workshop Tool OrganizerNegotiableMOQ: 10 Pieces
-
Laboratory Polyethylene Acid and Corrosive Chemicals Safety Storage PP CabinetUS$ 340 - 600MOQ: 5 Combos
-
22 Gallons /80 L PP Acid - Base Cabinet: Safeguard Chemical Storage Supplier OEMUS$ 500 - 600MOQ: 5 Combos
-
4 - Gallon Corrosion-resistant Safety Cabinet for Hazardous Chemicals Acid SupplierUS$ 340 - 500MOQ: 5 Combos